Today we are going through the basics of planting, some tips and tricks for some specific vegetables, and also some common pests that might try to make their home in your garden. The first thing to consider is how much shade/sun your area gets and make sure you plant the right plants accordingly. You should be able to tell how much light a plant needs by the plastic label that comes in the pot. Next, figure out how much space each plant needs. For example, bell peppers don’t need a lot of space while starts for tomatillos will grow to be almost the size of a small car!
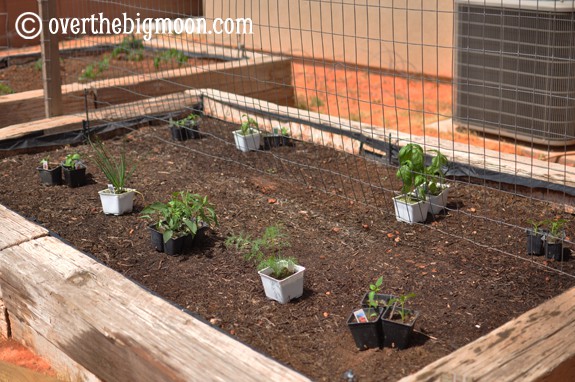
When buying plants I would recommend finding a local nursery to buy from. Not only do they plant better varieties for your local area, but with big suppliers like Wal-Mart and Home Depot there are more risks of disease and fungus. After buying your plants, double check your spacing by laying them out in the garden where you want to go.
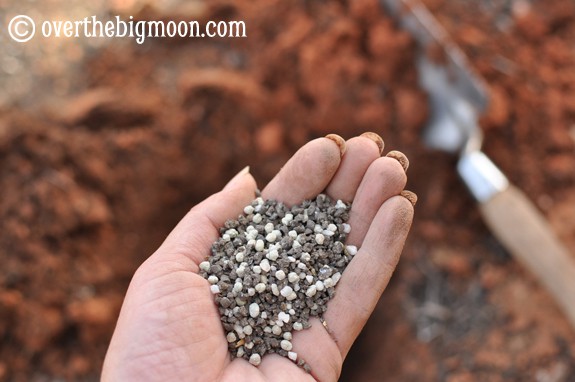
Then it’s time to gather your supplies. You will need a Garden Trowel , watering can or bucket, Tomato & Veggie Fertilizer

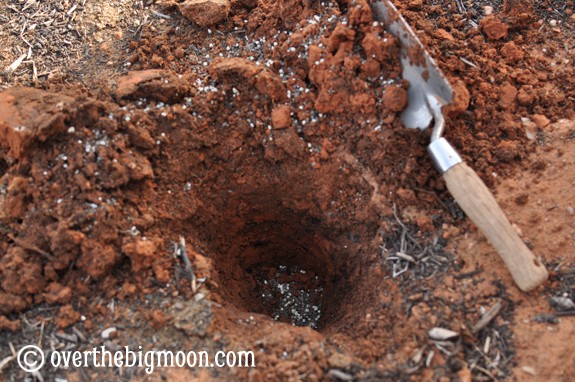
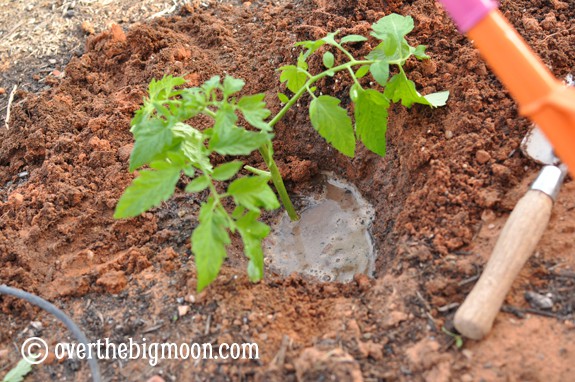
First, dig your hole. Your hole should be a little bigger than your container.
Then add about a quarter cup of fertilizer to the bottom of your hole and the dirt you dug out.
To get the plant out of the container, place your fingers on each size of the stem, flip the plant upside down, and then pull the plastic off.
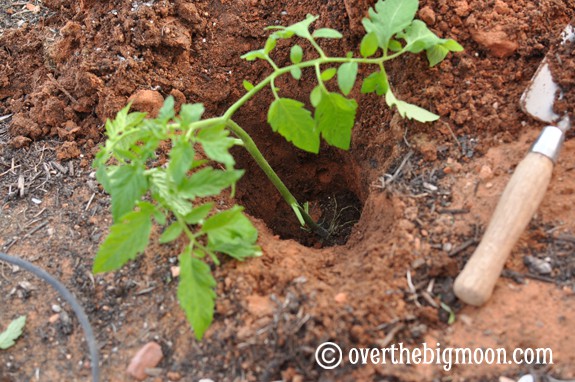
Next place your plant into the hole.
I add a little dirt back in, and then add some water to the hole.
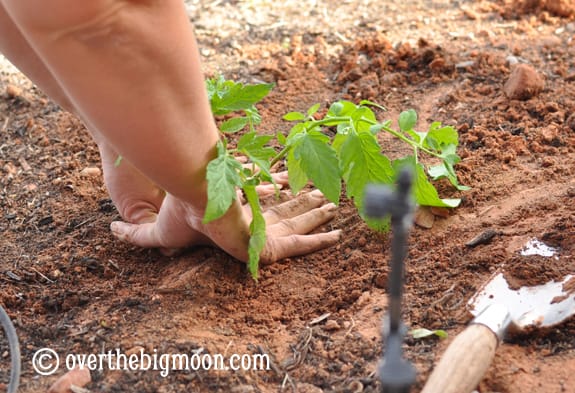
Finish back filling the hole. As you are putting the dirt back in be sure to mix the fertilizer in.
Then push the dirt down around the hole to make sure there are no pockets of air. You want to push down with even pressure, being careful to not push too hard.
With tomatoes you want to bury 2/3 of the plant. For example the plant on the left is what it looked like when I bought it. On the right is what it looked like right before I planted it.
I pinched the bottom stems off about an inch away from the main stem. The reason you do this is that those stems will turn into roots and make your plant much stronger!
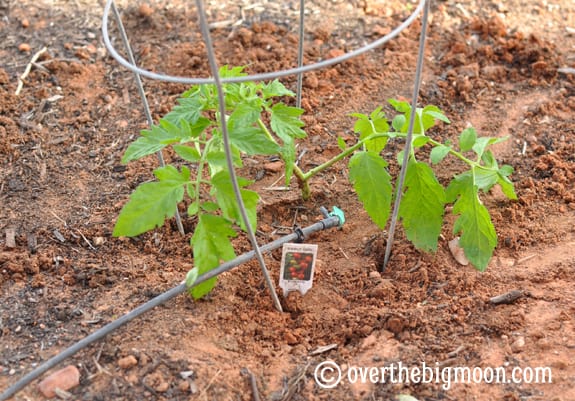
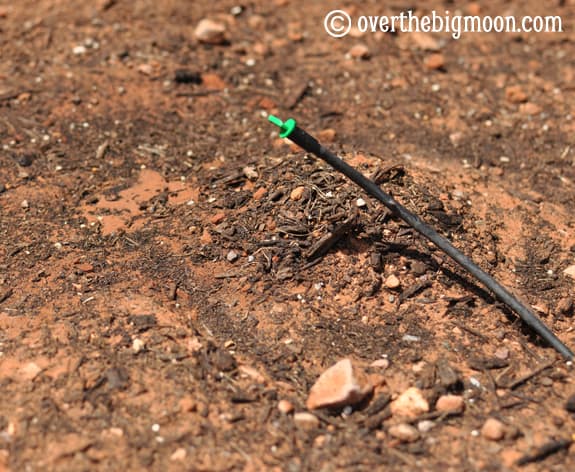
After I got the plant in, I added my drip line back next to the stem, and then added my tomato cage over the top.
I love to grow peppers to make pepper jelly. The problem with peppers is that they can get really heavy. The first year I grew them I had full branches of peppers break off because they were so heavy. Last year I placed a tomato cage around each pepper plant to support it. It worked pretty good but I didn’t like that the peppers got smashed inside the cage. My good gardening neighbors told me that they plant 3 peppers in one hole and theirs grow up and support one another, so that is what I tried this year.
If you are planting melons and zucchinis from seed, you want to make them into little hills. I do 6 seeds per hill and then thin them out to 3 once they get really established.
Now onto some pests you want to keep your eyes out for!
When you are digging your holes keep your eyes out for little guys that look like these:
These are they cutworms. They are actually a moth larvae. They hide during the day and come out at night to feed on your plants. I had a lot of these in my dirt this year and so I am treating them with Sevin Insect Granules . Sevin is my pest lifesaver! I tried the liquid kind but it didn’t work as well as the granular.
2011 was the year of the squash bug for us.
We lost all of our zucchini last year to it. These are vicious! Nothing we tried worked on them. So we finally pulled them and burnt them to try to kill the infestation. The best thing to do is keep your eyes out and check periodically under the leaves where they hide. If you see eggs like these under your squash or cucumber leaves (we actually saw some on our tomatoes leaves) squash them while you can!
You can also prevent future infestations by not allowing leaves, and other organic matter to lay on top of your soil during the winter because they will hide out there.
2010 was the year of the tomato worm for our garden. I got these picture off of my personal blog at the time.
They are really hard to see on your plants, but if you see the tops of your tomatoes missing leaves, start looking. They usually stay on the tops and ends of the tomato plants. I didn’t catch mine fast enough and by the time I did, the tops looked like coral.
Don’t worry, plants do recover. The worms won’t hurt you, even with their ugly horn, but they sure do gross me out! Good news is these are easy to take care of. If I am seeing damage and not able to find the worm I just sprinkle Sevin 
The best kind of prevention is early intervention, so keep a sharp eye out! Also, if you missed it, be sure to check out the other posts in our Garden Basics Series: Planters, Beds and Trellises and Soil Prep!
I may be linking this up to THESE great Linky Parties!

